


IMPORTANT!
DISCONNECT POWER
before working on any equipment
ELECTRICAL EQUIPMENT SHOULD BE INSTALLED, OPERATED, SERVICED, AND
MAINTAINED ONLY BY QUALIFIED PERSONNEL. NO RESPONSILIBITY IS
ASSUMED BY JPM PARTS FOR ANY CONSEQUENCES
ARISING OUT OF THE USE OF THIS MATERIAL.
USE A VOLTAGE METER TO CONFIRM POWER IS OFF!

let's get back to...
The Basics
Before troubleshooting we must verify that our incoming power is confirmed GOOD and HEALTHY. We have seen many scenarios is which the power source was the cause of the problem.
We will also cover checking all of our power connection points from the breaker to the mixer.
Why Consistent Power Matters
For your mixer to start and run correctly, all three power lines must be present and consistent. If one of the three phases is weak, missing, or incorrectly wired, the motor might:
- Fail to start
- Overheat
- Trip safety overloads
- Make a loud humming noise and draw excess current
This power must remain consistent from the breaker to the motor.
WHAT IS 3-PHASE POWER?

The VCM 44 runs on 3-phase power, which means the machine receives electricity through three “hot” wires— labeled L1, L2, and L3. The fourth wire is ground.
Unlike a standard single-phase system (like what you have at home), 3-phase power delivers a more stable, balanced flow of electricity that keeps heavy-duty motors running efficiently.
1. CHECK THE INCOMING POWER
Find the breaker box and have an electrian check the incoming power. There are three wires going into this 3-phase breaker.
Using a voltage meter, one could confirm that the incoming power is correct by checking:
Voltage at L1 to L2
Voltage at L2 to L3
Voltage at L1 to L3
Do not check the line wires to ground, test power across each pair separately.
Each pair should match the voltage on the mixer's motor tag. You should not see more than 1% - 3% voltage deviation across the legs.
If one leg is missing or lower than expected, the issue might be with your building’s power supply—not the mixer.

It's crucial we check the power at the source. The VCM 44 runs on a 30 AMP breaker and is typically on a 208v - 220v service.
INCLUDING:
CHECK THE RECEPTICLE
Locate the recepticle on the wall. Inspect the plug for any abnormalities (e.g. melted terminals). Have an electrician test the power at the recepticle.
If one leg is missing or lower than expected, the issue might be between the breaker and the recepicle, or the recepicle itself.
NOTE: WE ONLY RECOMMEND TWIST-LOCK PLUGS AND RECEPTICLES
Standard plugs only rely on friction between the plug's prongs and the receptacle's slots to hold the connection. This is dangerous and we highly recommend upgrading to a twist-lock plug.


⬇️Continue
CHECK THE PLUG
⚠️ DISCONNECT POWER and physically examine the wire connections on plug.
Each wire must be fully seated within the terminals. If you notice any terminals that are black in color or melted, replace immediately.
The bare wire should never extend past the terminals.

CHECK THE POWER CORD
Examine the power cord for any lumps or tears. Breaks CAN occur within the power cord.
CHECK ROTATION
The mixer should only run clockwise. If the mixer is running backwards, you risk damaging the rotor and dislodging the dough blade or cutter blade.
To change the rotation of the mixer one could swap two wires at the plug (e.g. black and white wire). This reverses the rotation.

FAQs for the This Section:
POWER CONFIRMED GOOD?
Don't Skip the Simple Stuff
2. Check the Physical Connections
Even with perfect incoming power, your machine won’t run if the internal wire connections are loose, corroded, or damaged.
Over time, vibration, heat, or even previous service work can cause connections to:
- Loosen
- Oxidize or corrode
- Break at the terminal or under insulation
A single loose wire can result in:
- Intermittent power
- No operation at all
- Arcing or overheating, which can damage terminals or trip breakers

WHAT TO LOOK FOR:
- Tug gently on each wire: is it snug and secure in its terminal?
- Check for burn marks, discoloration, or melted insulation
- Look for broken strands at the terminal ends
- Ensure the ground wire is connected securely to the frame
⚠️ PRO TIP
Always check both ends of the wire: at the terminal block and where it connects to components like the contactor, motor leads, or safety switches.
FAQ for This Section:
Common Problems & Suggestions
All advice from now on is assuming that the incoming power is GOOD and HEALTHY
NOTERemember that any information or advice shared here is for general knowledge and educational purposes only. It should not be considered a substitute for personalized professional advice from a qualified expert. Always consult with a licensed professional before making decisions or taking action based on information you find below.
1Motor makes a loud noise or blows the breaker
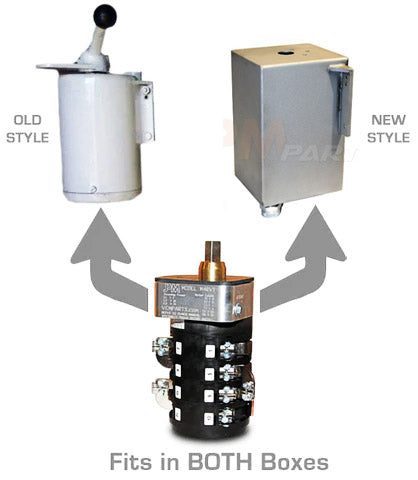
Possible Reason 1: Motor Contactor Problem
The contact block handles the power wires coming into the mixer. Overtime the contactor block wears down and when one power leg is lost, and the motor will make a loud noise and blow the breaker.
Possible Solutions:
1️⃣ Replace the contact block (Links Below)
2️⃣ Check Plug
3️⃣ Check Cord
Aftermarket ContactorOEM Eaton Contactor
Motor Contactor: (Circled Above) The main power connects to this block. It distrubutes the power to the motor when the start button is pressed.
Possible Reason 2: Bad Bearings
Possible Solution: Replace the Bearings
Failed bearings can cause a loud, growling noise from the motor.
How to further diagnoise failed bearings:
Take the top of the rotor shaft and pull it back and forth. Good bearings will not allowing any rocking or movement.
Spin the rotor shaft by hand. This movement should feel smooth and sound silent.
JPM VCM Rebuild Service:
We preform equipment rebuilds on a daily basis with our full service fabrication and equipment refurbishment department.
We offer affordable freight options and handle all the pick ups and deliveries for you. Our expertly trained technicians carefully inspect every working aspect of the rebuild to ensure it leaves our facility ready for years of production.
Are you planning on rebuilding your VCM yourself? Check out our free rebuild video on YouTube here!
Possible Reason 3: Bad Motor
The main reason for motor failure is either moisture, excess heat, or loosing a leg of power for too long.
The motor can be tested with an insulation resistance meter (megger). You can test the motor yourself with our testing devices, or have a motor shop do it for you.
How to Check a Stator with an Ohm meter:
Note: You will need an ohm meter that is sensitive enough to read 0.5 ohms. This is only valid for a single speed, VCM 44 A/1
| Test Type | Leads | Expected Results |
|---|---|---|
| Coil A | T1 - T4 | Low Ω |
| Coil B | T3 - T6 | Low Ω |
| Coil C | T2 - T5 | Low Ω |
| Between Coils | Any other Combo | OL |
| To Ground | Any Lead > Frame | OL (Megger Preferred) |
You should measure low and similar resistance across each of those pairs. There should be no continuity between different windings, and no continuity to ground.
If the motor has failed the testing, it can rewound to factory specifications. The cost for this service is $1650 + return shipping. Contact us today to arrange this service.
Keep in mind that a motor with excess moisture can sometimes be revived with an oven bake, wash and a new enamel coating. This service is about 2/3 cheaper than a complete rewind.
Pro Tip: Clean the screen on the bottom of the motor cover. A blocked screen can overheat the motor and cause failures! 👇

Here's an example of the quality of a JPM Rewound Stator:

2No timer display, power loss

Possible Reason 1: Blown Fuse
Possible Solution: Replace the fuses
To test a fuse completely remove them from the fuse block holders. Do not test them while installed.
Check continuity between the fuse. If the fuse is blown, replace and check operation.
If the fuses are blowing consistantly, there is an underlying issue causing this. The most likely case is a bad motor contactor, loose wires, or a bad transformer.
Fuse 1 & 2: Takes two line wires (L1 & L2) from the motor contact block to the transformer. Fuse 1 connects to the hot side of the transformer, and fuse 2 connects to the neutral side of the transformer.
Fuse 3: Outputs 120v from the transformer to the motor contact block.
You can purchase replacement fuses here.Fuse Circuit:

Possible Reason 2: Bad Transformer
The transformer converts main power to 120 volts to power the timer. Newer models will convert that to 24 volts.
Solution: Replace Transformer
If the transformer is not delivering the correct voltage to the timer.
How to Check the Voltage
You can check the voltage at the transformer or at the timer terminals:
| Eagle Signal | ATC | Autonics |
|---|---|---|
| Hot: #15 | Hot: #16 | Hot: #7 |
| Neutral: #2 | Neutral: #2 | Neutral: #6 |
Possible Reason 3: Loose Wires, or Inproper Wiring
Imporper or loose wires can cause a loss in power to the timer. Please review a wiring diagram to confirm every wire.
VCM 44 Wiring DiagramIf you have ordered from us before, we will send this to you for FREE! If this is needed after hours, just let us know and we will refund the order.
Possible Reason 4: Bad Timer
If all possible reasons have been checked, a new timer may be required.
You can view the timers we have available below:
3Timer display working, but does not start
4Mixer randomly shuts off during operation
5Blind stopper damage
Possible Reason 1: Incorrect Rotation
Possible Solution: Confirm or Change Rotation to Clockwise
The mixer should only run clockwise. If the mixer is running backwards, you risk damaging the rotor and dislodging the dough blade or cutter blade.
To change the rotation of the mixer one could swap two wires at the plug (e.g. black and white wire). This reverses the rotation.
Possible Reason 2: Blade Hop
The blind stopper should never touch the attachments and is not designed to solely keep the blade down during mixing operations. If you are experiencing damage to the blind stopper there are other issues that must be address first.
Possible Solution 1: Blind Stopper Combo Sets
This combo includes an insert that locks the attachment in place and prevent the blade from "unlocking" and interfering with the blind stopper.
When installing the blade holder insert, it requires that the blade is "pre-loaded" or locked into place. This prevents the blade from forcing upward on startup.
Blind Stopper Combo SetBlind Stopper Combo Set 2.0Possible Reason 3: Rotor Damage
Possible Solution: JPM Refurbished Rotor Exchange Program
The main attachment shaft uses two interlocking fingers that lock the blade into place with centrifugal force. If those fingers become worn or damaged, the blade will not lock in place and will be forced upwards during the mixing cycle.
This can be fixed by using our rotor exchange program.

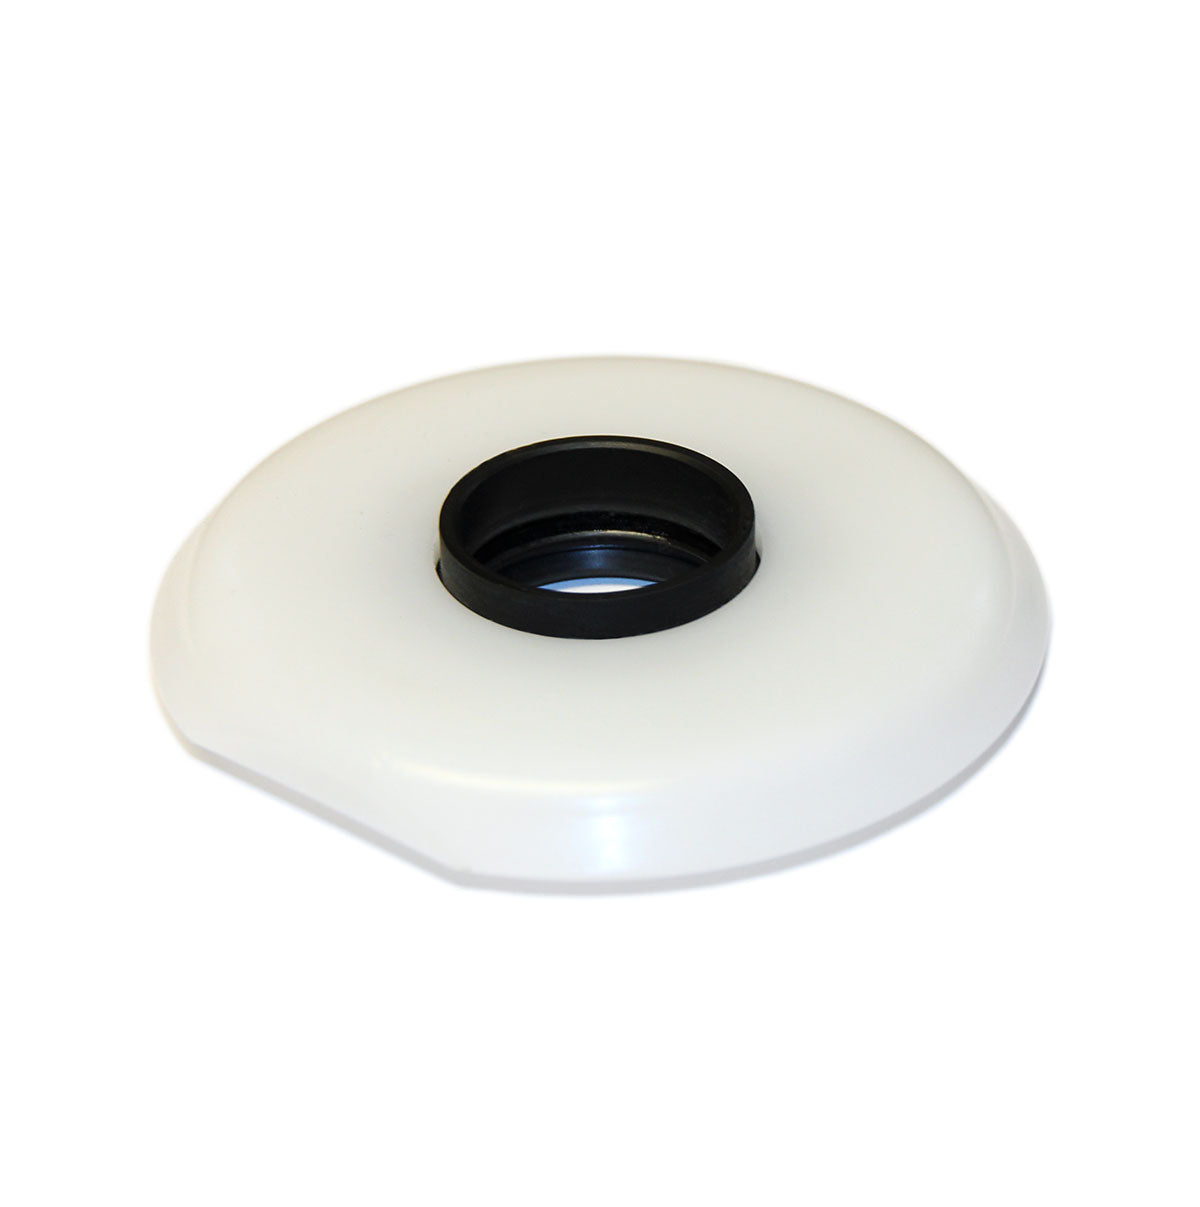
6Bowl leaking
Possible Reason 1: Bowl Seal
Possible Solution: Replace the Bowl Seal
The bowl seal encounters a lot of friction. Food-grade lubricant will increase the life of the seal considerably. This lubricant should be applied liberally on the shaft sleeve, inside of the bowl seal and on the o-ring during installation.
Bowl SealLow Profile Bowl SealLubricantThe bowl seal is one of two components that create the seal. See the shaft sleeve below for more information!
Possible Reason 2: Shaft Sleeve
Possible Solution: Replace the Shaft Sleeve
We highly recommend the replacement of the shaft sleeve if grooving or pitting is evident. With a worn shaft sleeve, the bowl seal may not seal correctly and the life of the seal will be considerably shorter.

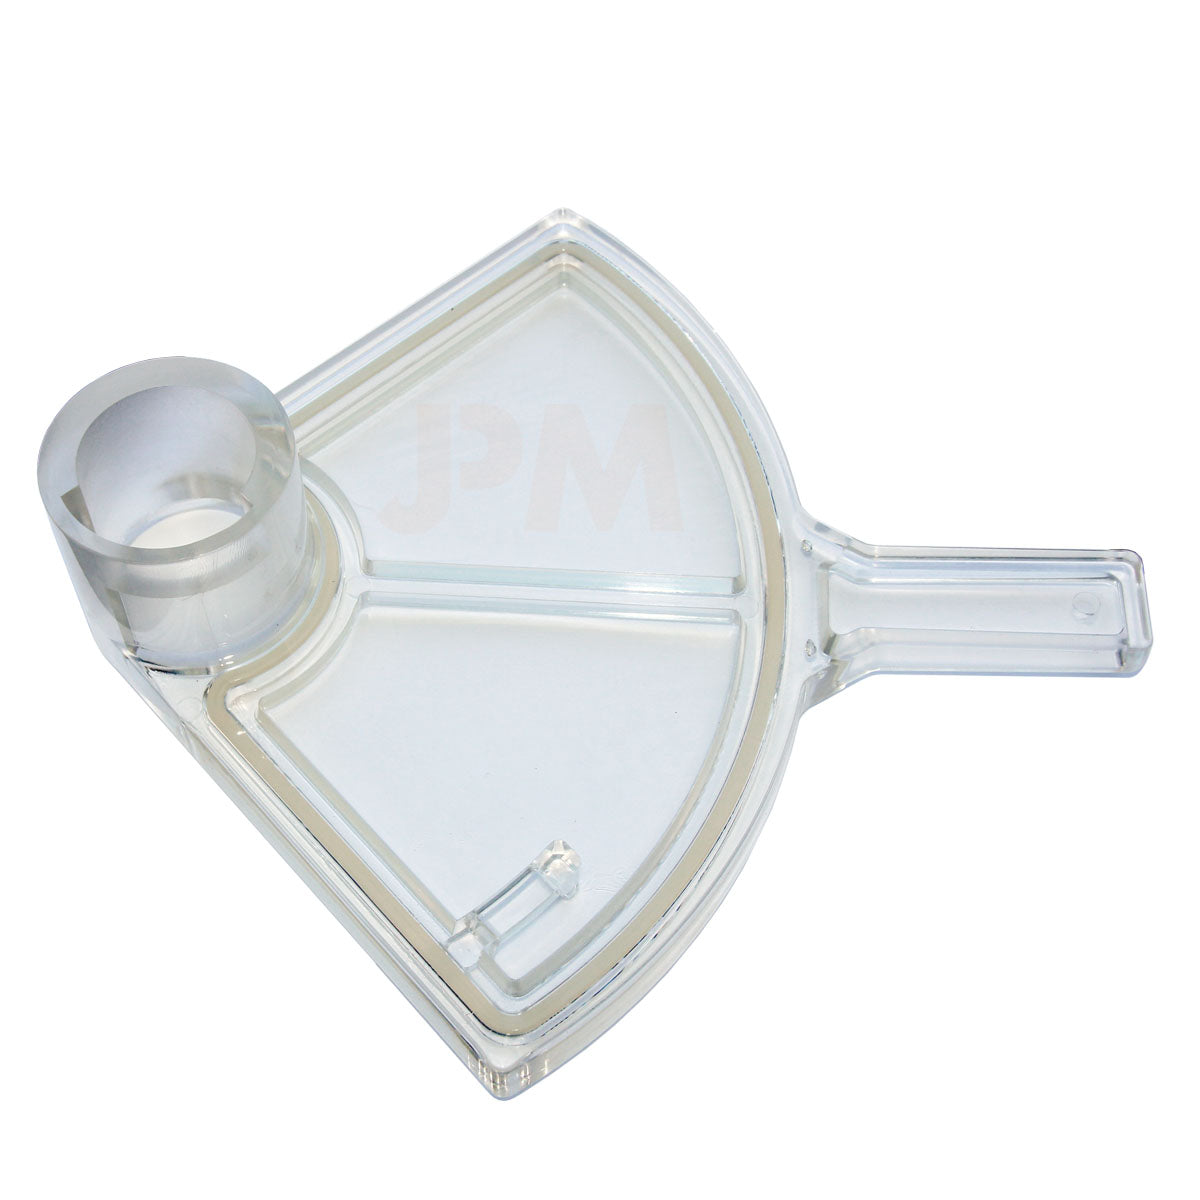
7Closed lid has gaps or mis-alignment
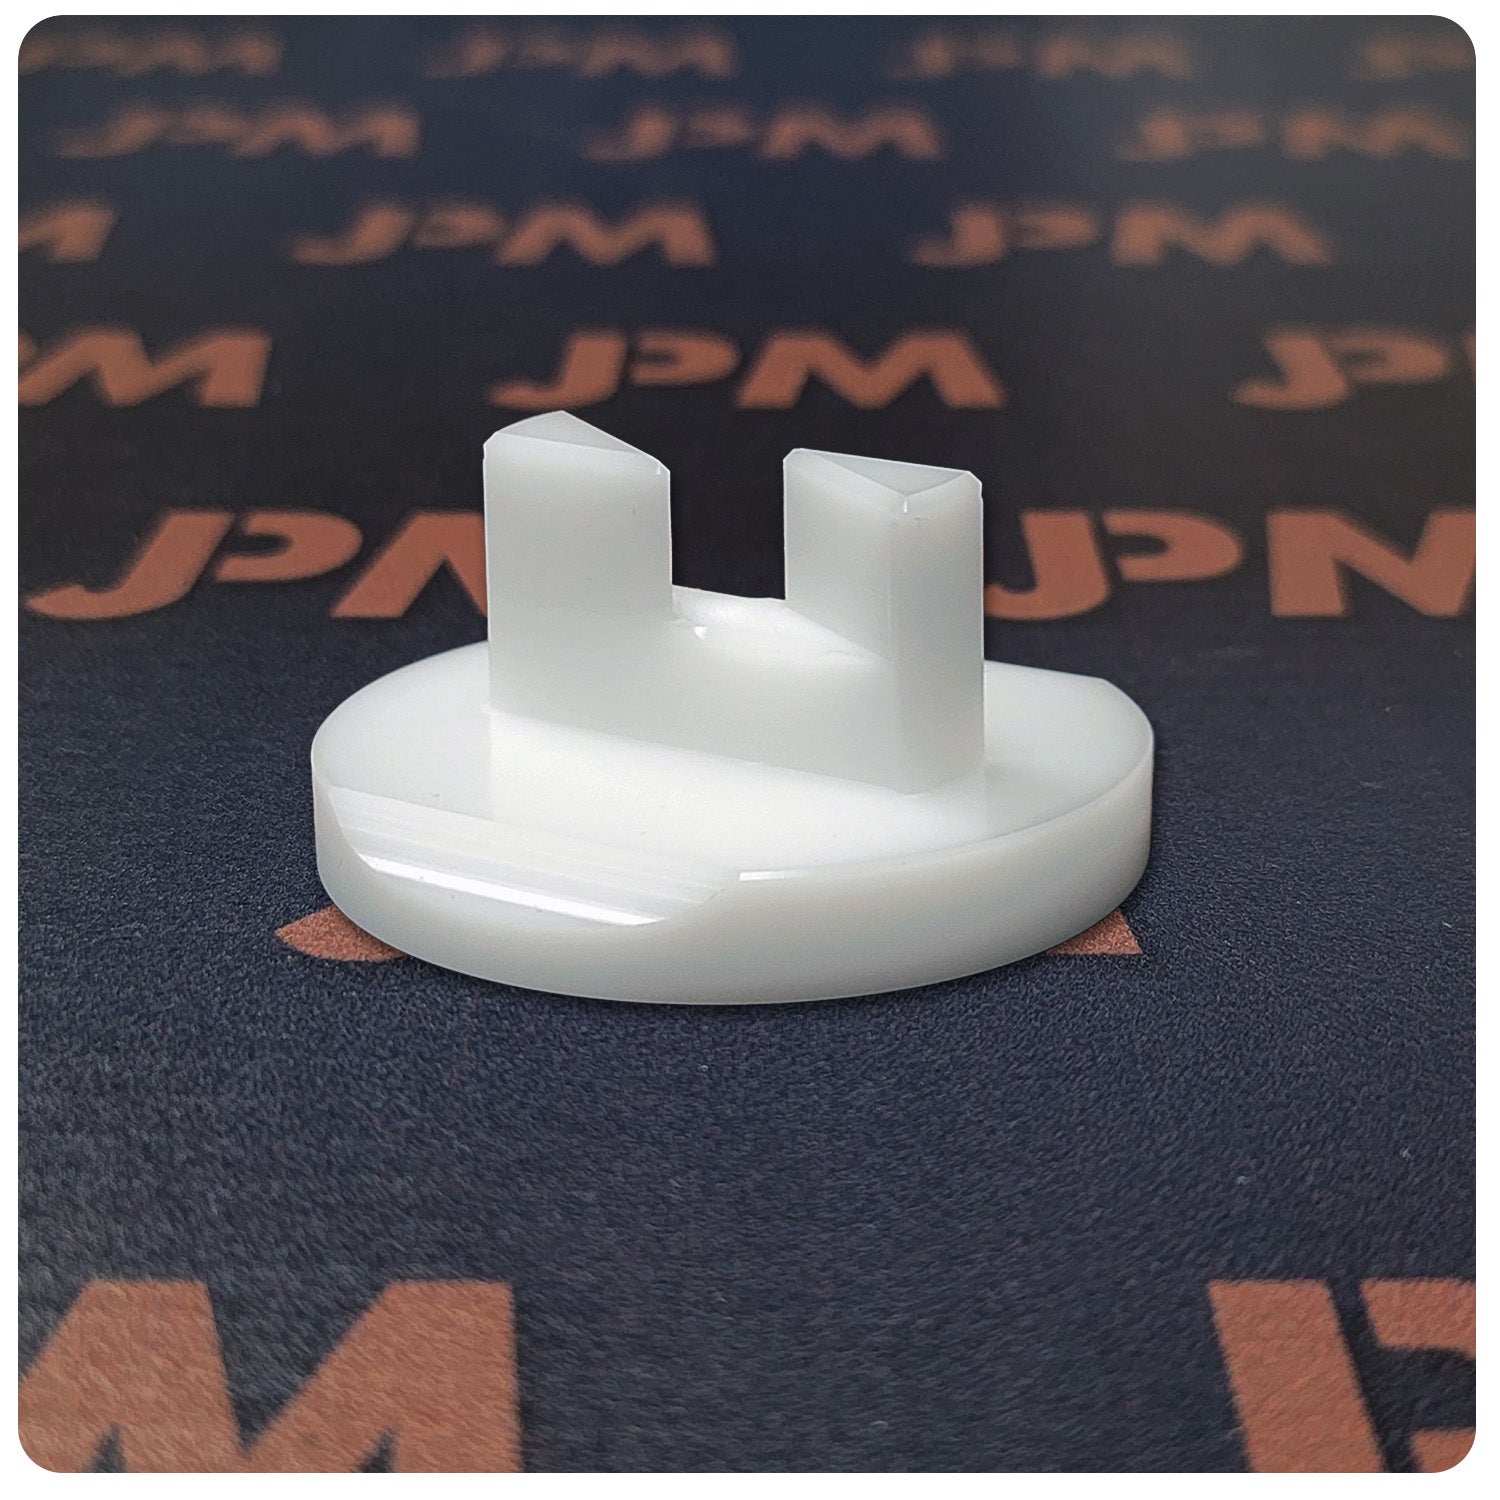
Possible Reason 1: Lid Bolt Bushings
Possible Solution: Replace the Lid Bolt Bushings
Worn bearing bushings can cause the lid to sit off-center as demonstrated below:

Possible Reason 2: Lid Bolt
Possible Solution: Replace the Lid Bolt
When the lid bolt bushings fail, it can cause damage to the lid bolt. This damage will also cause an off-center alignment.
There are two different types of lid bolts based off of the type of lid:

Possible Reason 3: Worn Lid Locking Handle
If the lid locking handle is worn, it can cause a loss in leverage. This loss in leverage will cause gaps around the lid gasket o-ring.
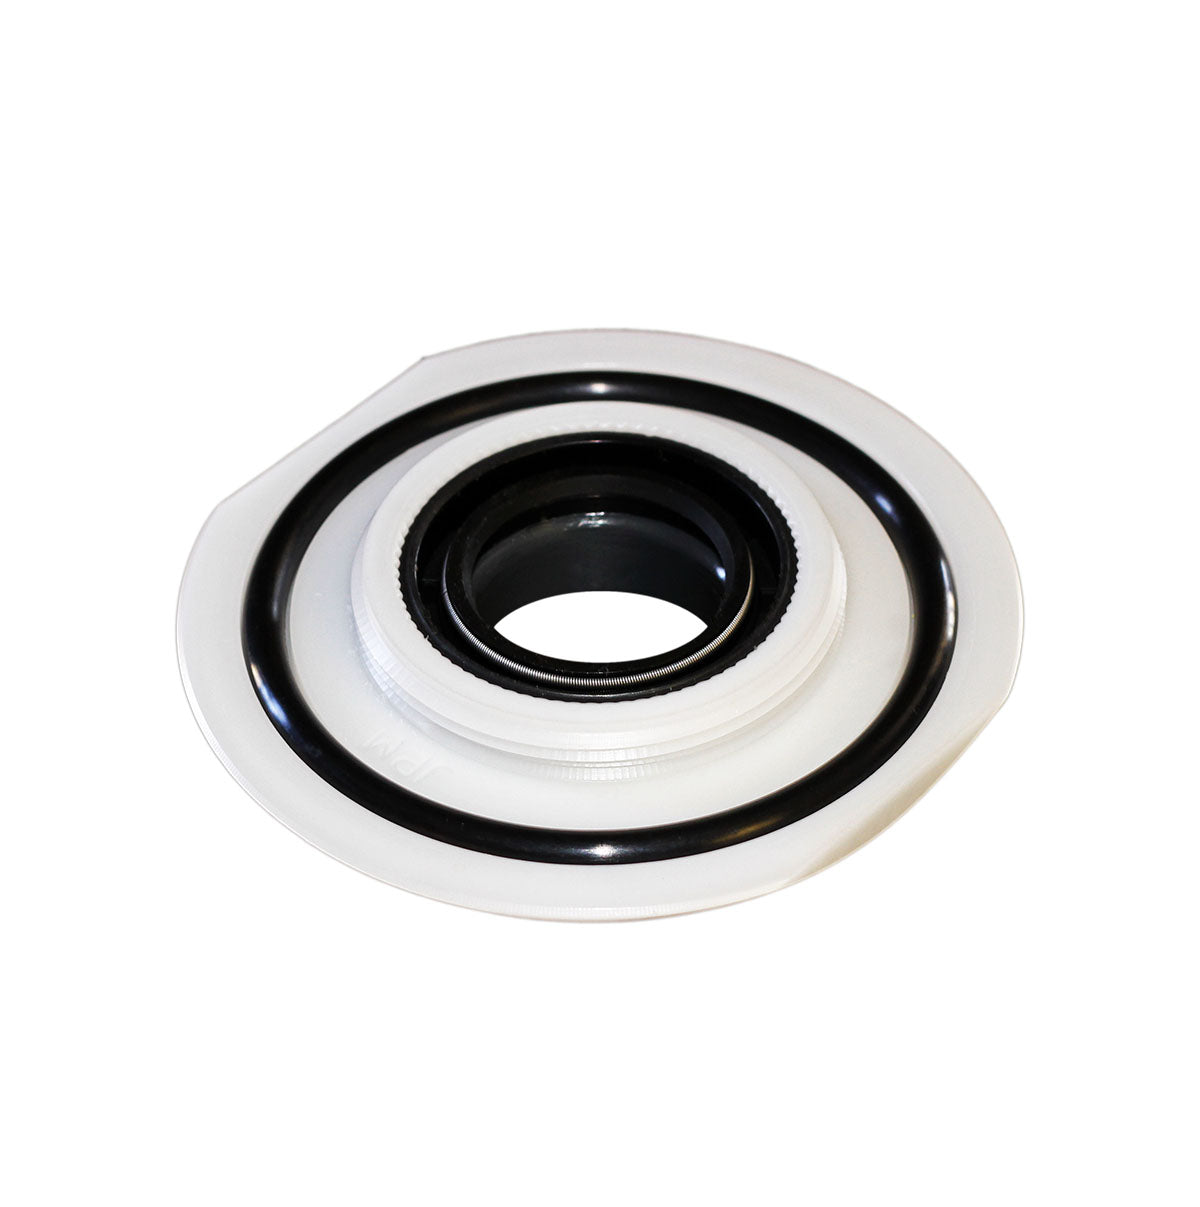
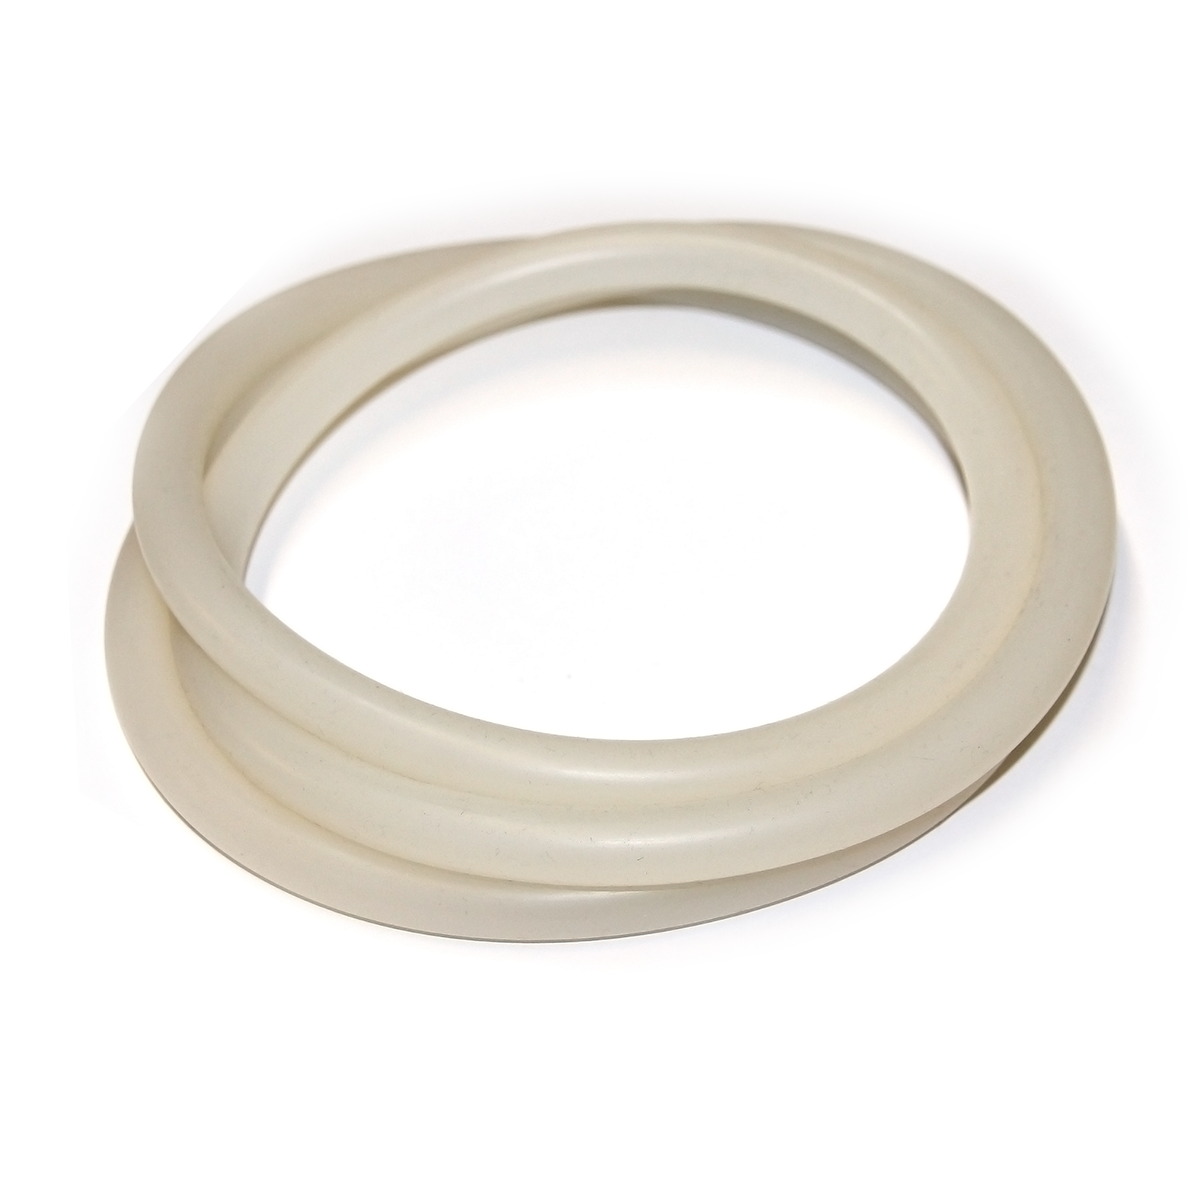
Possible Reason 4: Incorrect Lid Gasket O-Ring
Possible Solution: Confirm Gasket Type
We offer two types of lid gasket o-rings for the VCM models. The VCM 44 o-ring is opaque/natural silicone, and the 40 is bright white silicone.
If you use a VCM 40 gasket on a VCM 44 it may cause gaps in the lid when closed.
Purchase the Correct VCM 44 O-Ring HerePossible Reason 5: Worn Lid Gasket
Possible Solution: Replace Gasket
A worn lid gasket that has misshapen will require replacement.
Purchase the Correct VCM 44 O-Ring Here8The tilt is not locking correctly
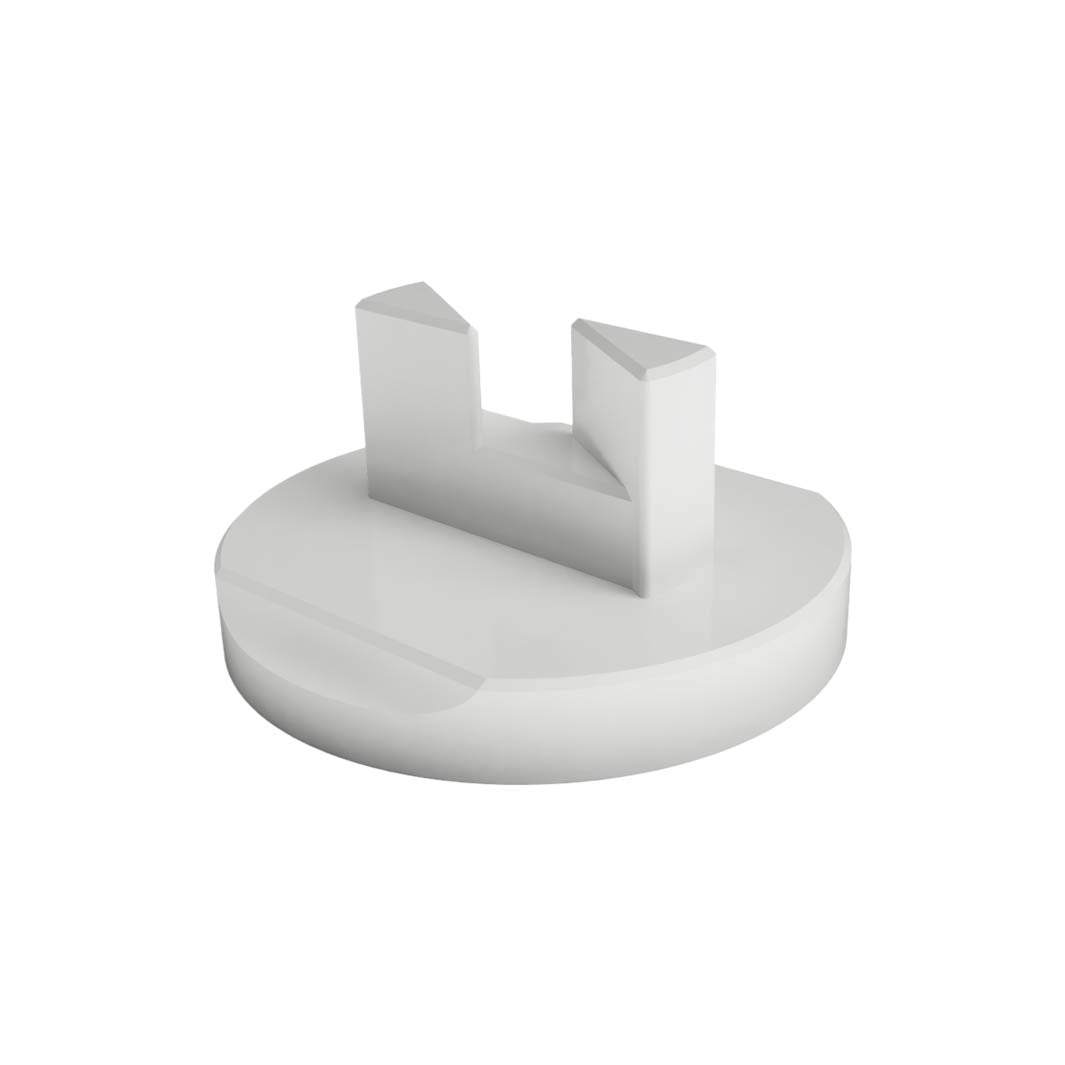
Possible Reason 1: Distance Piece
Possible Solution: Replace the Distance Piece
The distance piece is a spacer between the upper bearing housing and the frame locking section.
Some OEM distance pieces are plastic, and when they collapse it will cause problems fully locking the teeth. It bottoms out inside of the handle.

Our aluminum distance piece are a significiant upgrade to the original plastic part.
Possible Reason 2: Bearing Bolt Key
Possible Solution: Replace the Bearing Bolt Key
When the bearing bolt key is damaged it will cause rocking and locking issues. This key is what keeps the locking disc straight and engaged correctly.

Possible Reason 3: Cross-Pin Bolt
Possible Solution: Replace the Cross-Pin (Shoulder Bolt)
With a worn or missing cross-pin, the machine will still rock back-and-forth with the locking handle fully tightened. This cross pin engages the bearing bolt and provides a stopping point for the locking disc.

Usually a new shoulder bolt will solve the problem. However, there is a chance that the upper housing has deformed. The deformed hole will still cause rocking with a new bolt.
We can repair deformed upper housing. Simply give us a call to arrange this service.
Purchase the Shoulder Bolt for TiltingPossible Reason 4: Bearing Bolt
Possible Solution: Replace the Bearing Bolt
The bearing bolt has three features of importance:
The threads: The tilt locking handle threads onto this bolt. If the threads are stripped, it will require replacement.
The key way: The keyway keeps the locking disc aligned. If the keyway is damaged it will require replacement.
Cross-Hole: The cross hole on the bearing bolt accepts the shoulder bolt. If the cross-hole is deformed the bearing bolt will require replacement.

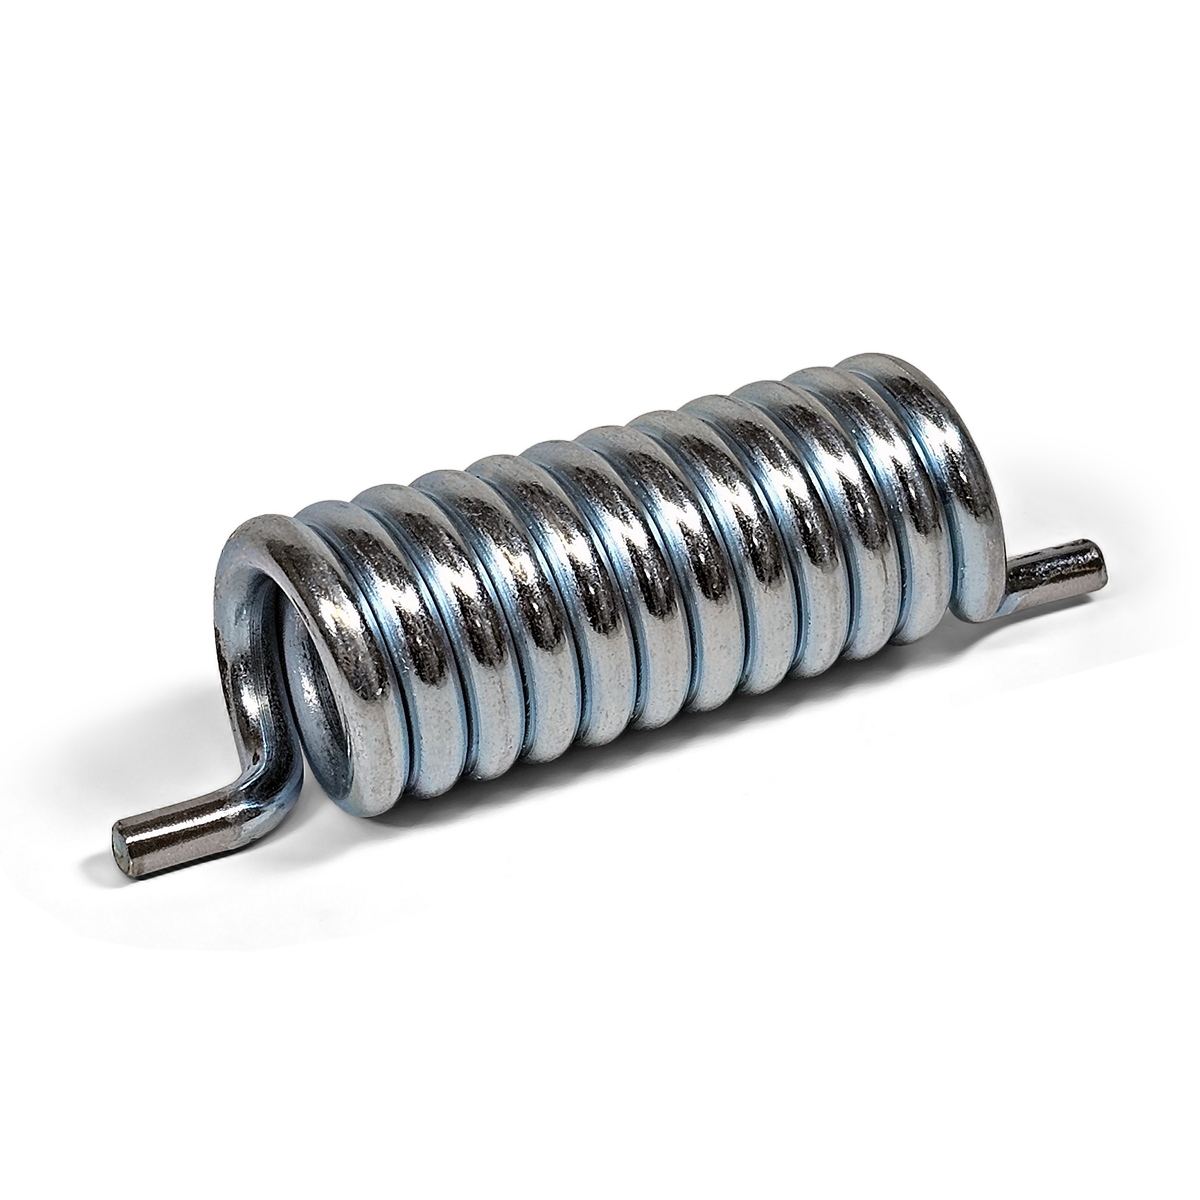
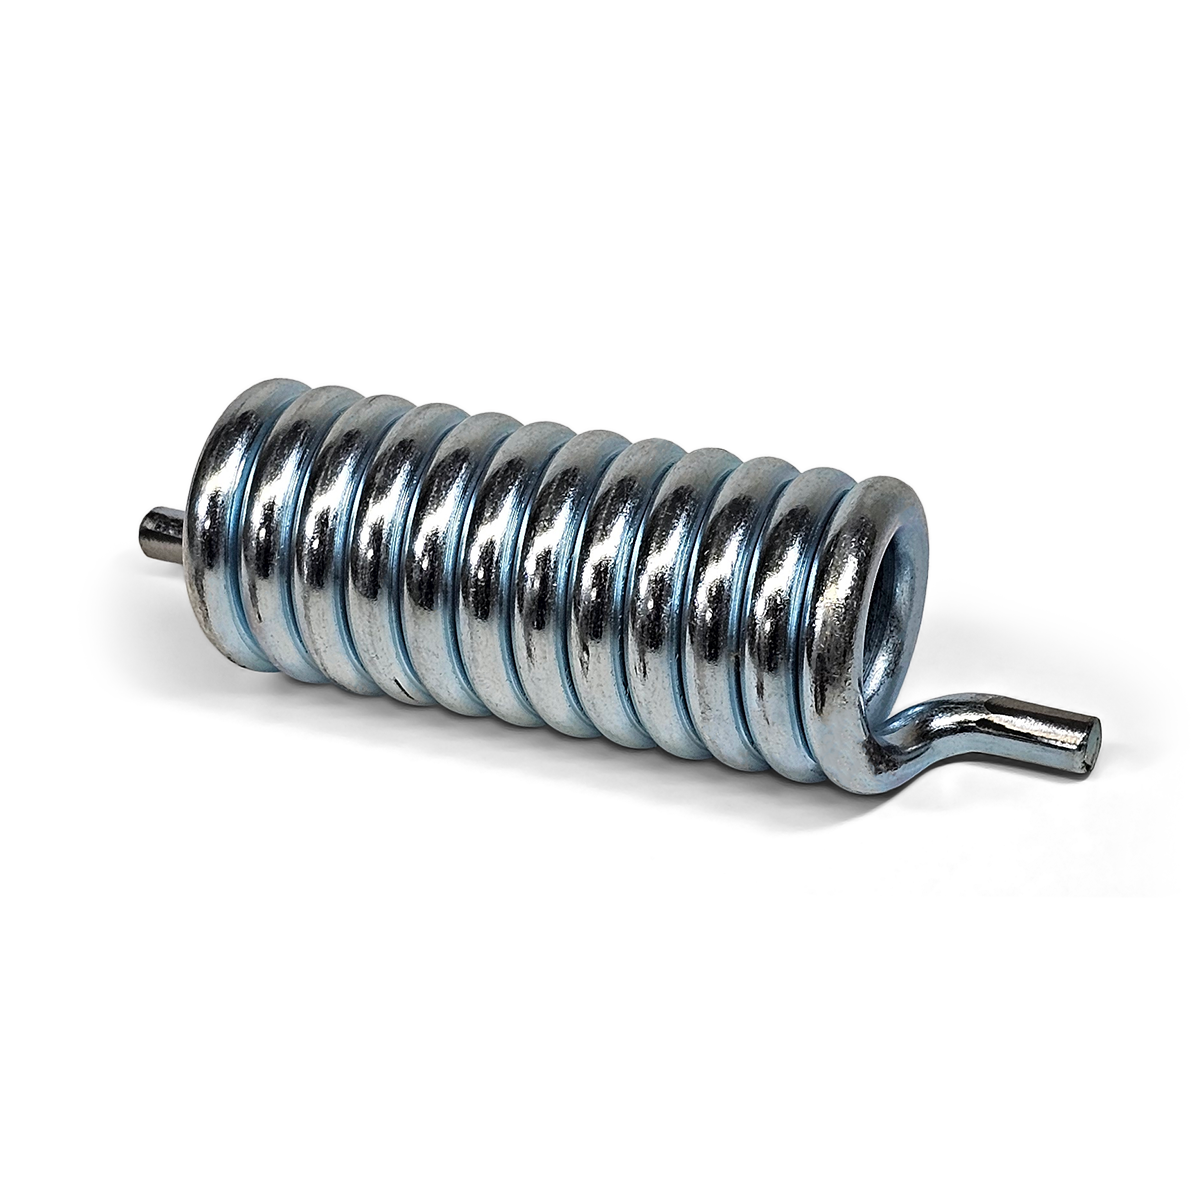
Possible Reason 5: Tilt Spring
Possible Solution: Replace and Pressure Tilt Spring
A new tilt spring will help release the locking disc when the tilt locking handle is loosened.
If the locking disc is tight, you may need to also inspect the keyway on the bearing bolt. If you notice any deformation, replace the key as well.
Possible Solution: Cleaning and lubricating the Locking Disc, Bearing Bolt.
The locking disc can be removed, cleaned and lubrciated with food grade lubcriant. Appling lubricant on the threads of the bearing bolt can also help.
Possible Reason 6: Locking Disc
Possible Solution: Replace or Clean the Locking Disc
Inspect the condition of the locking disc (the large outer disc with teeth on it). Make sure that it is fully engaging the mating teeth on the frame side (see image below).
If the locking disc is not sitting fully egaged, you may first attempt to remove it and clean the grooves.
 Purchase a New Locking Disc Here
Possible Reason 7: Tilt Locking Handle
Possible Solution: Replace the Tilt Locking Handle
The OEM handle is comprised of a plastic handle and a brass insert. Overtime the brass insert can strip, or spin inside the plastic housings.
Our handles are made from solid stainless steel.
When replacing the handle, make sure you also have a tilt washer installed. The washer provides the correct spacing to make sure the assembly has enough clearance.
Purchase the Tilt Locking Handle HerePurchase the Tilt Washer Here9Lid spring not working
Possible Reason 1: Broken Lid Spring
Possible Solution: Replace the Lid Spring
Remove the black cover on the hindge cabinet and inspect the lid spring for any visable cracks.
Need help installing the spring?
Spring Installation VideoPossible Reason 2: Broken Spring Tabs
Possible Solution: Replace the Spring Tabs
The lid spring resting points for leverage on small pieces of metal. Overtime those pieces of metal can round-off or simply break loose.
Although it is a tricky job, it can be repaired. Contact us today to arrive this service work. You can send the bowl to us through parcel services.
The spring tabs are highlighted in red below:

Possible Reason 3: Lid Bolt Assembly
Possible Solution: Replace the Lid Bolt Assembly
Overtime the corrosion buildup will cause problems in the lid spring assembly. We now offer complete lid bolt kits that get your equipment back up to par.

STILL NEED HELP?
Our Contact Information is Found Below

An industrial-grade protective housing designed for harsh commercial kitchen environments.
- Available for Autonics/JPM Timer & Eagle Signal Brand
- Material construction resistance against grease and oils
- 16-gauge marine vinyl splash shield – replaceable and durable
- Corrosion-resistant stainless hardware
- Embedded brass thread inserts for long-term integrity
- Custom rubber gasket included
- Redesigned brackets for increased clearance and compatibility (Autonics Timer Only)
JPM TimerGuard
Protect Electronics
Learn MoreBuilt from high-performance materials, with a water-resistant marine vinyl shield, stainless hardware, and embedded brass inserts for long-term durability.